dependency Injection makes your code scalable and testable. Dagger2 is almost de-facto dependency Injection framework in Java these days, and, Its supported and used by Google which makes it first choice of all Android Developers.
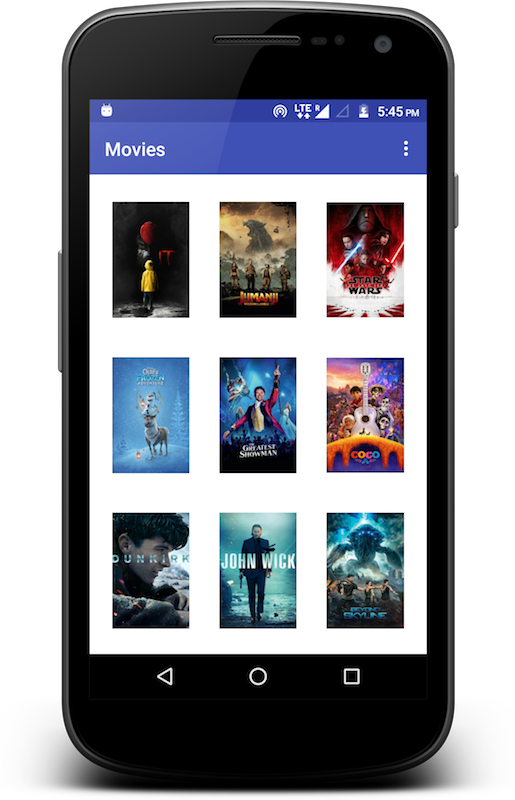
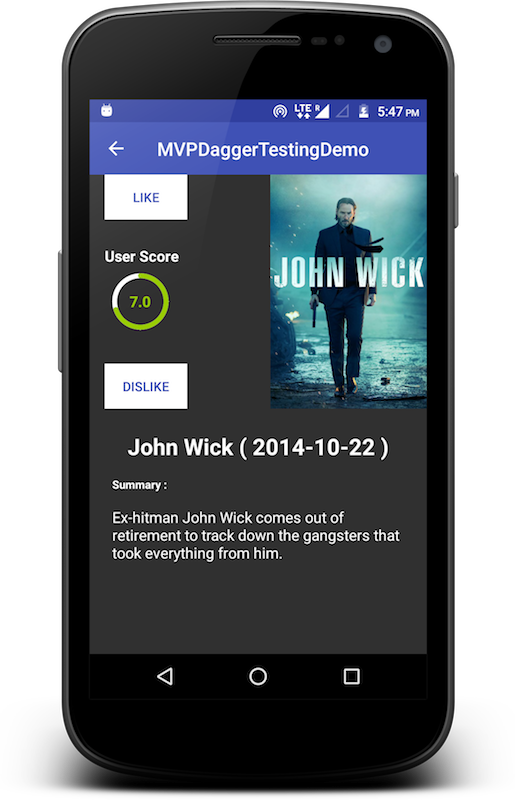
In this post I am going to demonstrate use of Subcomponents in a very common android app use-case and show how dependency Injection is done from top to bottom. In this app user can see list of movies and click on any list item to see its details. Movie list is fetched from remote API, result of this API are cached in local database and this database is then used to present movie details on movie detail screen.
 |
 |
Lets start!
Identify Top Level Dependancies
These are the Singletons that you usually have in your app like Retrofit APIModule, SharedPreferences, DatabaseWrapper, ApplicationContext etc. It makes sense to initialize them once and then use everywhere, only problem with that is, they make unit testing Hell!! So in modern TDD world we avoid Singletons. Singletons are bad for health of testable code. With Dagger2 we still initialize them once and then use it everywhere but, these dependancies are now injected instead of doing Someclass.getInstance(). In our movie listing app I can see following global dependancies
- ApiModule- Provides access to retrofit for networking in our presenters.
- DatabaseInteractor- Database handler which can be used for inserting and retrieving data from local database.
- Application- Android application context
Create Top Level Component and Modules
Once we are done Identifying our Singletons we are ready to create a Application level Component. A Component in Dagger2 is something which provides(or supplies) dependancies to injection target(i.e. the object which need dependancies). Components are interfaces between Module and Injection Target. Modules are classes which do actual work of instantiating dependancies or creating actual objects which Component will supply to Injection Targets.
In movie example there are two top level modules which provide dependancies AppComponent. One is ApiModule which provides Retrofit instance for networking other is AppModule which provides other global objects like Application and Database.
Here is a diagram explaining flow that we are going to implement in this app
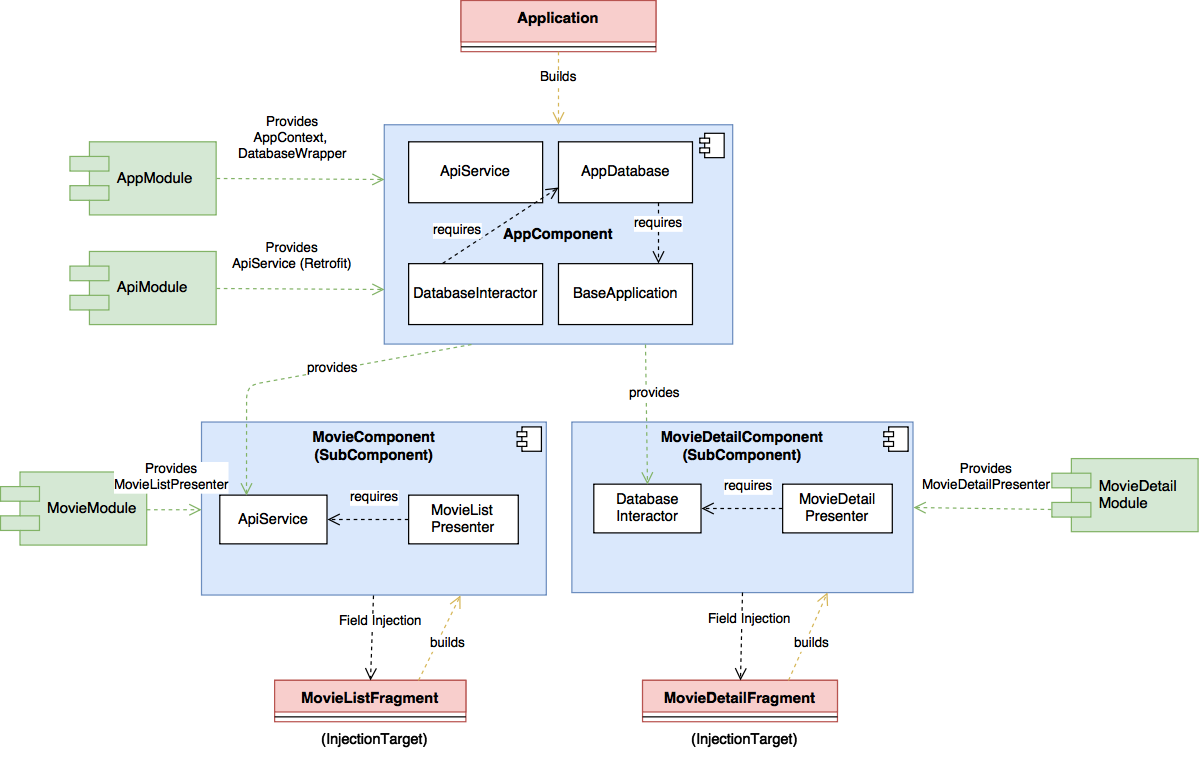
Let start diving into code. We will break and understand above diagram piece by piece. Here is code for ApiModule
@Module
public class ApiModule {

    @Provides
    @Singleton
    ApiService providesApiService() {
        OkHttpClient.Builder builder = new OkHttpClient.Builder();
        builder.hostnameVerifier((str, sslSession) -> true);

        ...
        ...
        ...

        Retrofit retrofit = new Retrofit.Builder()
                .baseUrl(BuildConfig.API_URL)
                .client(builder.build())
                .addConverterFactory(GsonConverterFactory.create(gson))
                .addCallAdapterFactory(rxAdapter)
                .build();
        return retrofit.create(ApiService.class);
    }
}
Except for almost standard Retrofit initialisation code which is omitted for brevity sake, there are a few annotations which need special mention 🎉
1. @Module
@Module tells Dagger2 that following class is a Module and it will provide a bunch of dependancies. We already know what a Module is so Nothing fancy here!
2. @Provides
@Provides is an annotation which is for methods in a Module. It tells Dagger2 that following method is responsible for constructing a dependency and it knows how to its job. Dagger2 will just invoke this method whenever a dependency specified with method’s return type is required. Note that method name here does not matter, it can be anything just the return type matters.
3. @Singleton
Last but most interesting annotation in above code is @Singleton. This annotation specifies scope of the dependency being provided. Singleton is most wide scope that can be used in Dagger2. A Singleton dependency is initialized once during Component’s lifecycle in Dagger2.
That’s that, since now we have all the basics and our dependancies ready for injection lets go ahead and create our top level component called AppComponent in movie example.
Here is the code for simplified version of AppComponent
@Singleton
@Component(modules = {AppModule.class, ApiModule.class})
public interface AppComponent {
  void inject(BaseApplication baseApplication);
}
Lets have a look at new annotation introduced here
@Component
@Component tells dagger that following interface is a Component and you need to generate implementation for it. As soon as you write @Component and hit build in Android Studio, Dagger2 generates implementation for the target interface. Dagger2 adds a prefix Dagger in name of implementation class. For an example for our AppComponent dagger will generate a class called DaggerAppComponent. Also as it apparent from code @Component also takes modules which will construct and provide dependancies.
Dagger2 dictates that in order to provide scoped dependancies(in this case @Singleton) corresponding component need to have scope annotation. Thats why our app component is annotated with @Singleton annotation.
Get Set Inject!
We have everything that we need, lets inject these dependencies so that we can actually use them. Since this is a global component, we will initialize it in BaseApplication class
public class BaseApplication extends Application {
    @Getter
    private AppComponent appComponent;

    @Override
    public void onCreate() {
        super.onCreate();
        appComponent = DaggerAppComponent.builder()
                .appModule(new AppModule(this))
                .build();

        appComponent.inject(this);
    }
}
Most interesting piece of code is the one building dependency graph. Note that even though AppComponent uses two modules only one is specified here, that is because ApiModule has no dependencies. Dagger can figure that out by itself and creates it using default constructor.
Where are my screens ?
Now that we are done setting up global dependencies, about time we start creating screens. Our first screen is movie list screen. It follows standard MVP architecture where we have a Fragment inside and Activity as View, a Presenter and a Contract interface that defines language in which View talks to Presenter.
Our view will thus need and instance of Presenter. Presenter is responsible for fetching data from API and providing it to View, so it will need ApiService and View. Presenter is where we will keep our business logic and it should not have any Android stuff so that we can unit test it easily.
There are two ways in which Dagger2 can pass dependencies to children
- Dependent Component A component can be dependent on other(or parent) component. In this case dependent component needs an instance of parent component to access dependencies which are satisfied by parent. This requires us to initialize all the components in application class itself.
- Subcomponents
Subcomponents were introduced in Dagger2. WithSubComponentparent component just have declare getters of all its children components. While dependent components can have 1 or more parentsSubComponentcan only have one. ASubComponenthas access to all dependancies supplied by its parent.
In generated code Dependent components access dependancies via an interface while Subcomponents are generated as inner classes of parent components so that they can directly access dependencies available in parent components. Dependent components can be used when components need more decoupling between then for example, different library modules in single project. SubComponents should be used when there is tight coupling between components for example different screens within an app.
Movie example make use of @SubComponent to propagate dependancies in individual screens. Lets start by creating module
@Module
public class MovieModule {

    private final Contracts.View movieView;

    public MovieModule(Contracts.View movieView) {
        this.movieView = movieView;
    }

    @Provides
    @MovieScope
    MovieListPresenter provideMovieListPresenter(ApiService apiService) {
        return new MovieListPresenter(movieView, apiService);
    }
}
Note that how MovieListPresenter needs ApiService here. ApiService will be injected by Dagger on the fly, since, its coming from AppComponent we need not to worry about its initialization.
There is just one interesting new addition here, @MovieScope. @MovieScope is a custom scope which works just like @Singleton but has smaller lifecycle. In Dagger2 one can define his custom scope in which created objects should live, MovieScope is one such custom scope. A SubComponent cannot have same scope as its parent hence we need to define a custom scope for our SubComponent. We can do so by using @Scope annotation. Lets have a look at definition of MovieScope, Its pretty straight.
@Scope
public @interface MovieScope {
}
Next is our MovieComponent
@MovieScope
@Subcomponent(modules = {MovieModule.class})
public interface MovieComponent {
    void inject(MovieListFragment movieListFragment);
}
Notice that I have used @SubComponent instead of @Component annotation. AppComponent now needs to know that it has one SubComponent so we add a new line of code in AppComponent’s definition
MovieComponent newMovieComponent(MovieModule movieModule);
Thats it, we have our SubComponent ready to supply dependencies to fragment and presenter.
Get Set Inject Again! 😃
In fragment’s onCreate write this code
((BaseApplication)getActivity().getApplication())
        .getAppComponent()
        .newMovieComponent(new MovieModule(this))
        .inject(this);
and declare your dependencies as field variables like this
@Inject
ApiService apiService;

@Inject
MovieListPresenter presenter;
@Inject annotation will let Dagger2 know what are the dependencies that this object needs and will initialize them automatically!
That is it, this is how dagger makes dependency injection easier. This code also looks pretty clean and readable. There is also movie detail screen here which I am leaving for you to explore because its pretty similar to what we have done for movie list.
You can find complete source code on github here
If you have any suggestions, let me know in comments!
Happy Coding!